Launch New Show
Launch New Show is how a show begins in ShowRevue. It asks for everything a session needs, in the order a stage manager would set it up, and writes the project file at the end. There is no other setup path: the old New Project and template screens are gone.
Open it from any of these:
- the Welcome window at launch, with Launch New Show
- File → New Project (⌘N)
- Window → Set Up → Launch New Show…
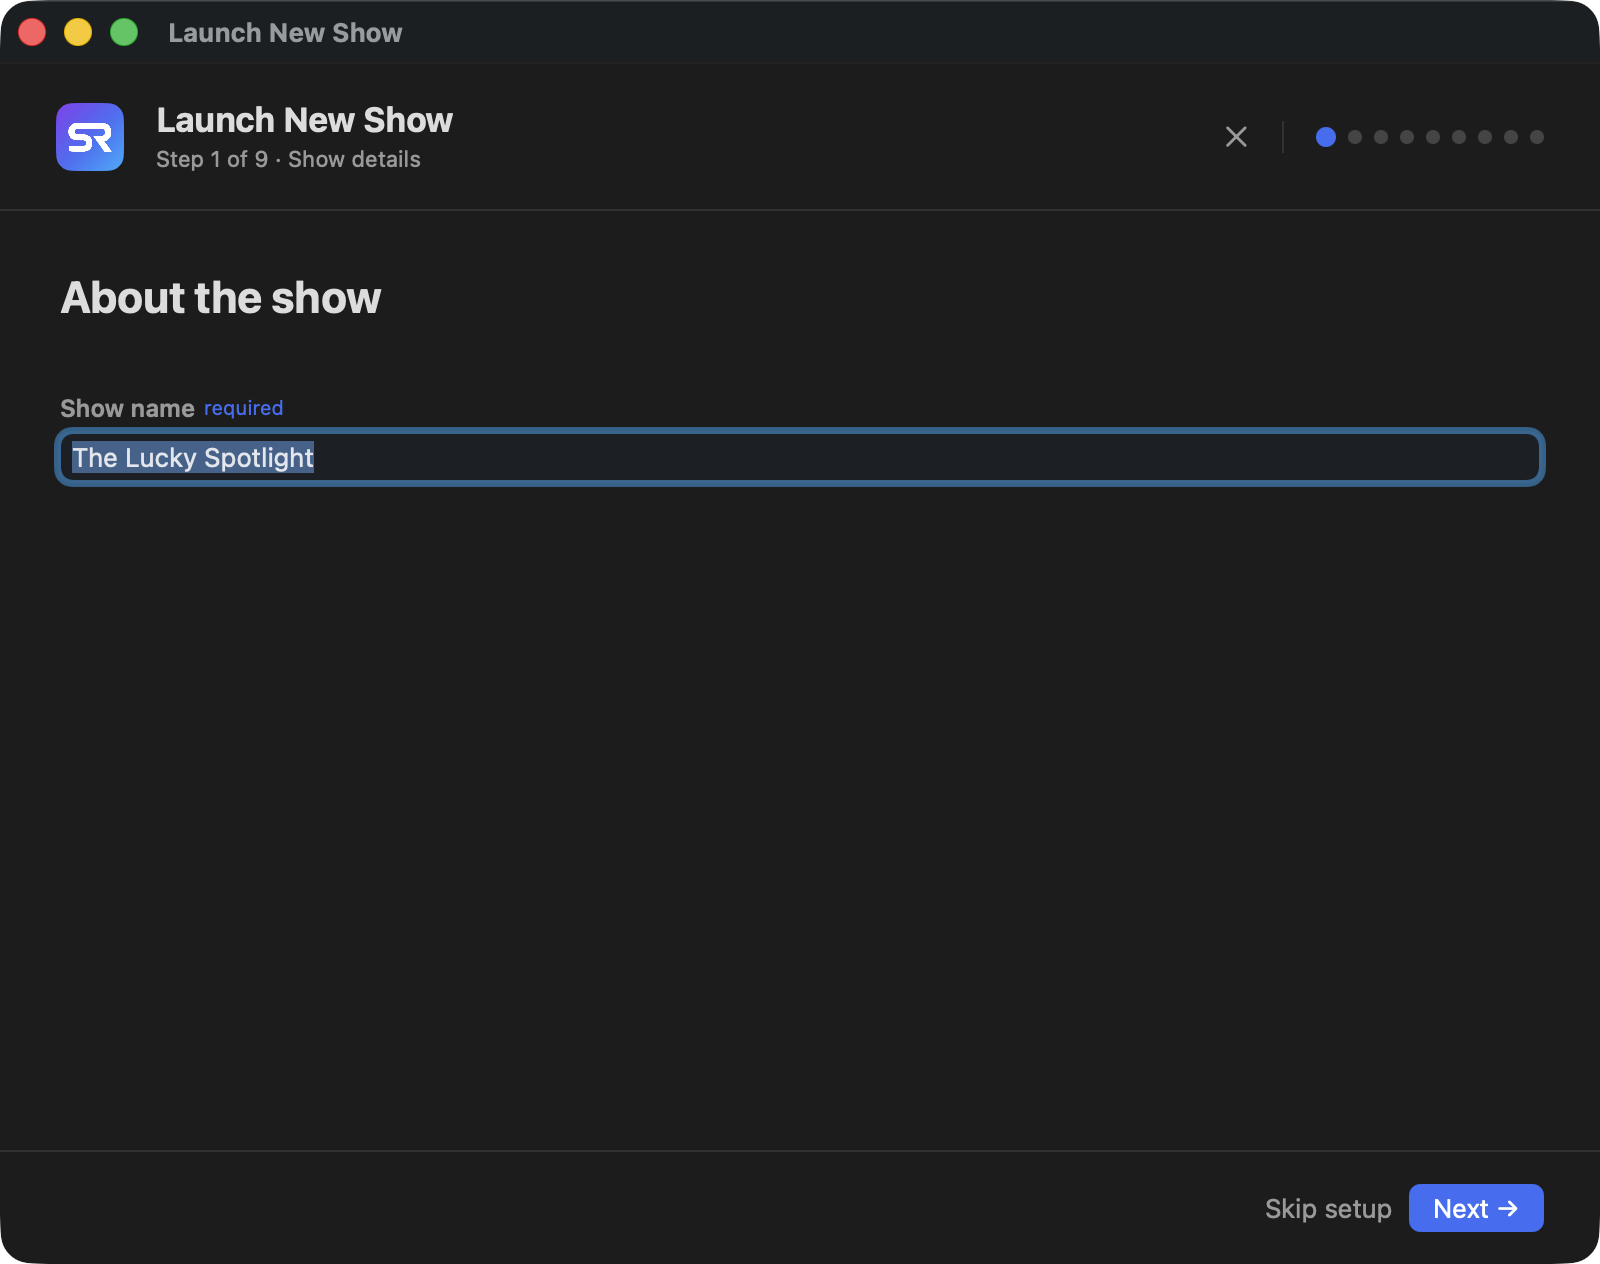
The dots in the title bar count the nine steps and show where you are; the step name sits under the title. Back and Next move through them; the last step has Create Show. Picking a lighting console, a media server or a timecode source adds a setup step for it straight after the pick, so a show with all three runs to twelve steps. Skip setup at the bottom creates the show now with whatever you have set so far, and everything you skipped waits in Project Settings and Preferences. Cancel closes the wizard without creating anything.
Show details
The name field opens focused with a generated name selected, so the first thing you type replaces it. The name appears on recordings, overlays, Stage Display and exported cue lists, and you can change it later in Project Settings. The wizard does not move on without a name.
Acts & schedule
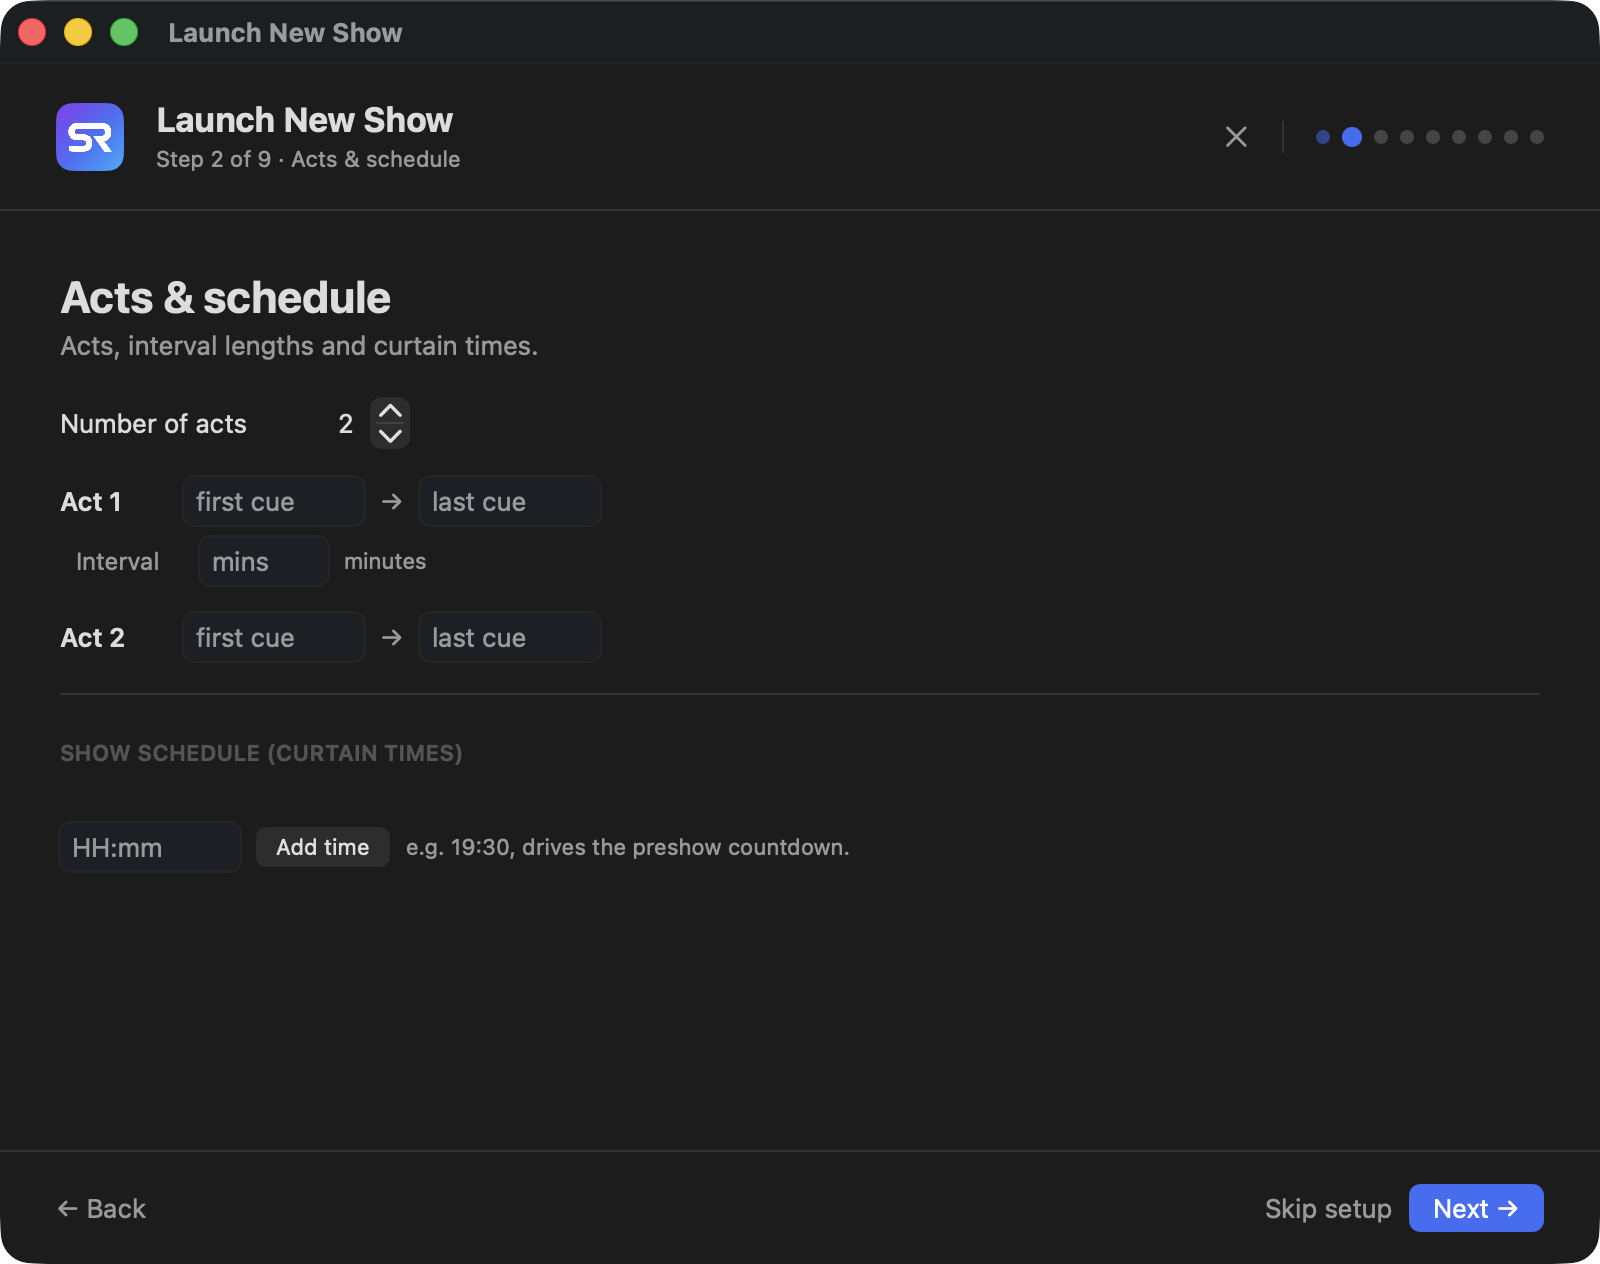
Set the number of acts, one to six. For each act enter its first and last cue and the length of the interval that follows it, in minutes. Then add the curtain times. Together these give the show its start and end cues, the interval timing, and the show times that Show State and the reports work from.
Camera source
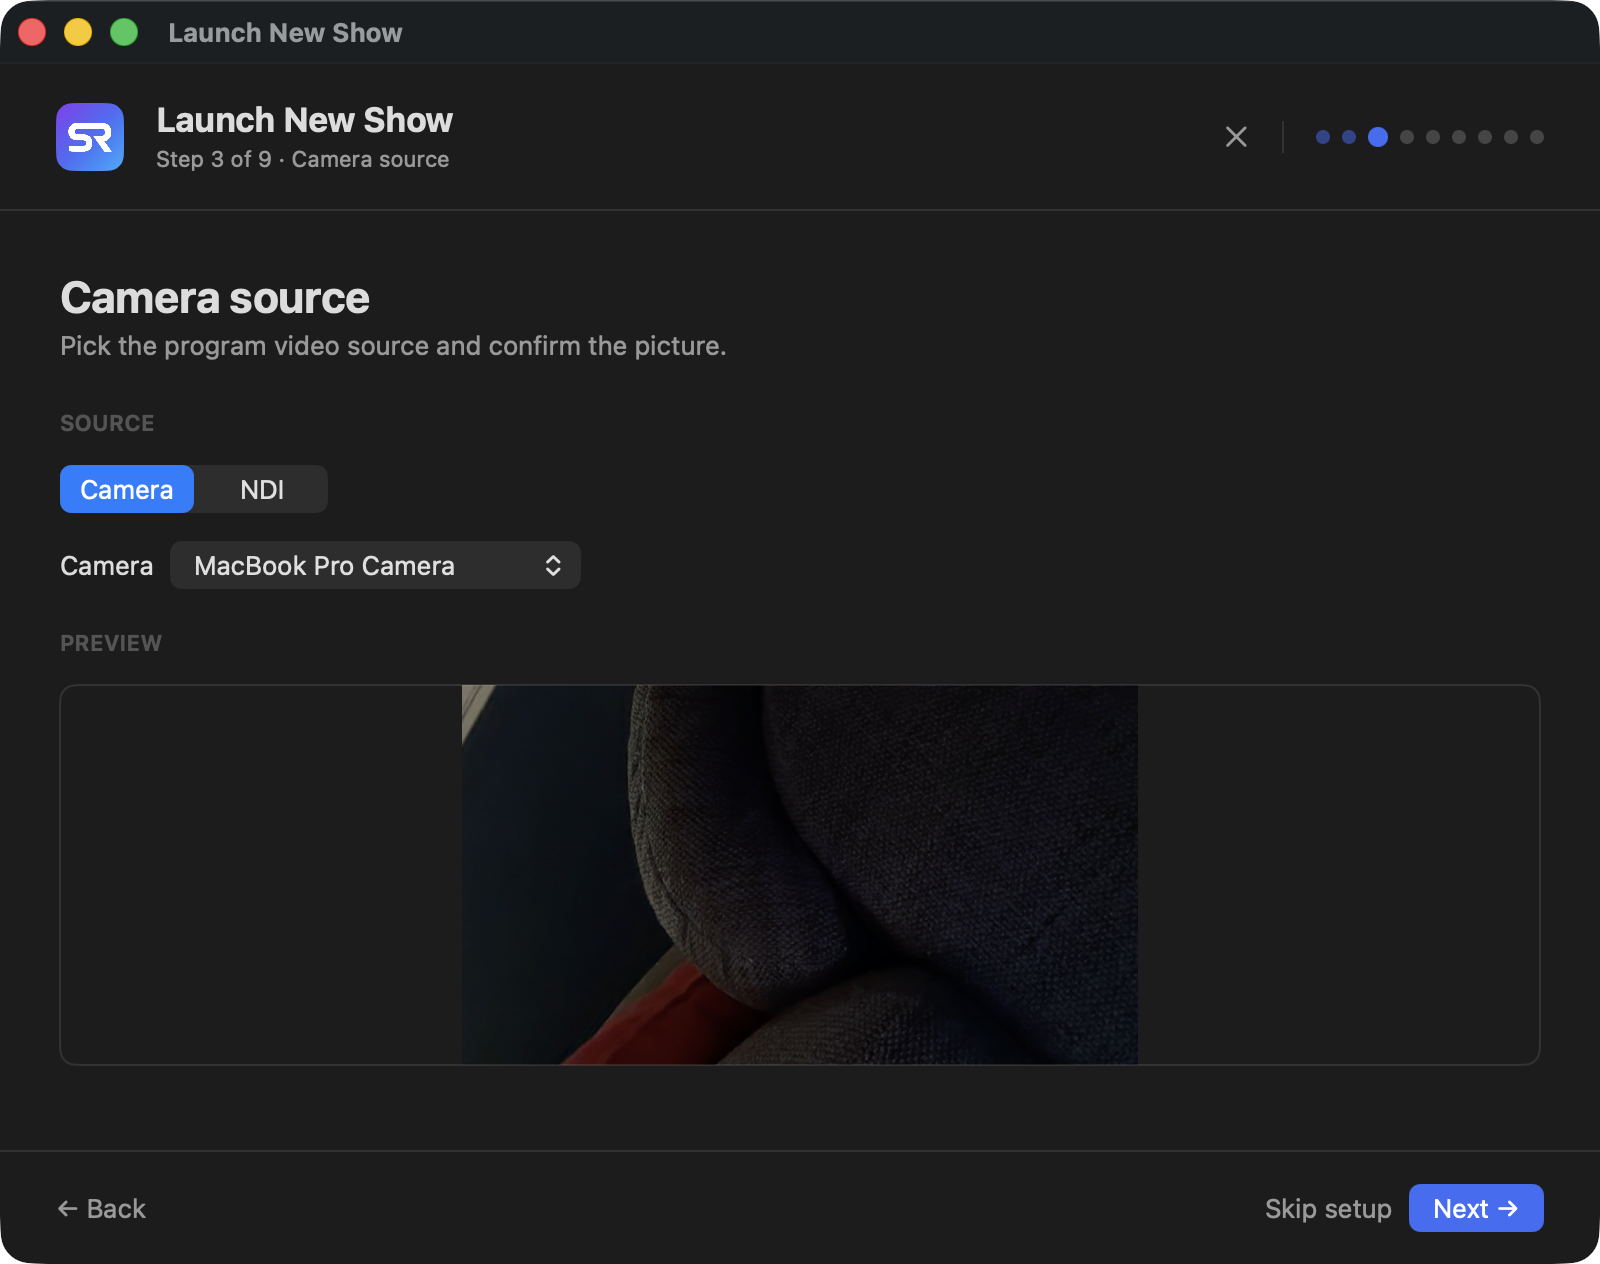
Pick the video source type, then the camera, and check the preview. NDI sources are chosen in Live, where discovery runs: an NDI show leaves this step with the source type set and picks the feed once the show is open.
Program audio
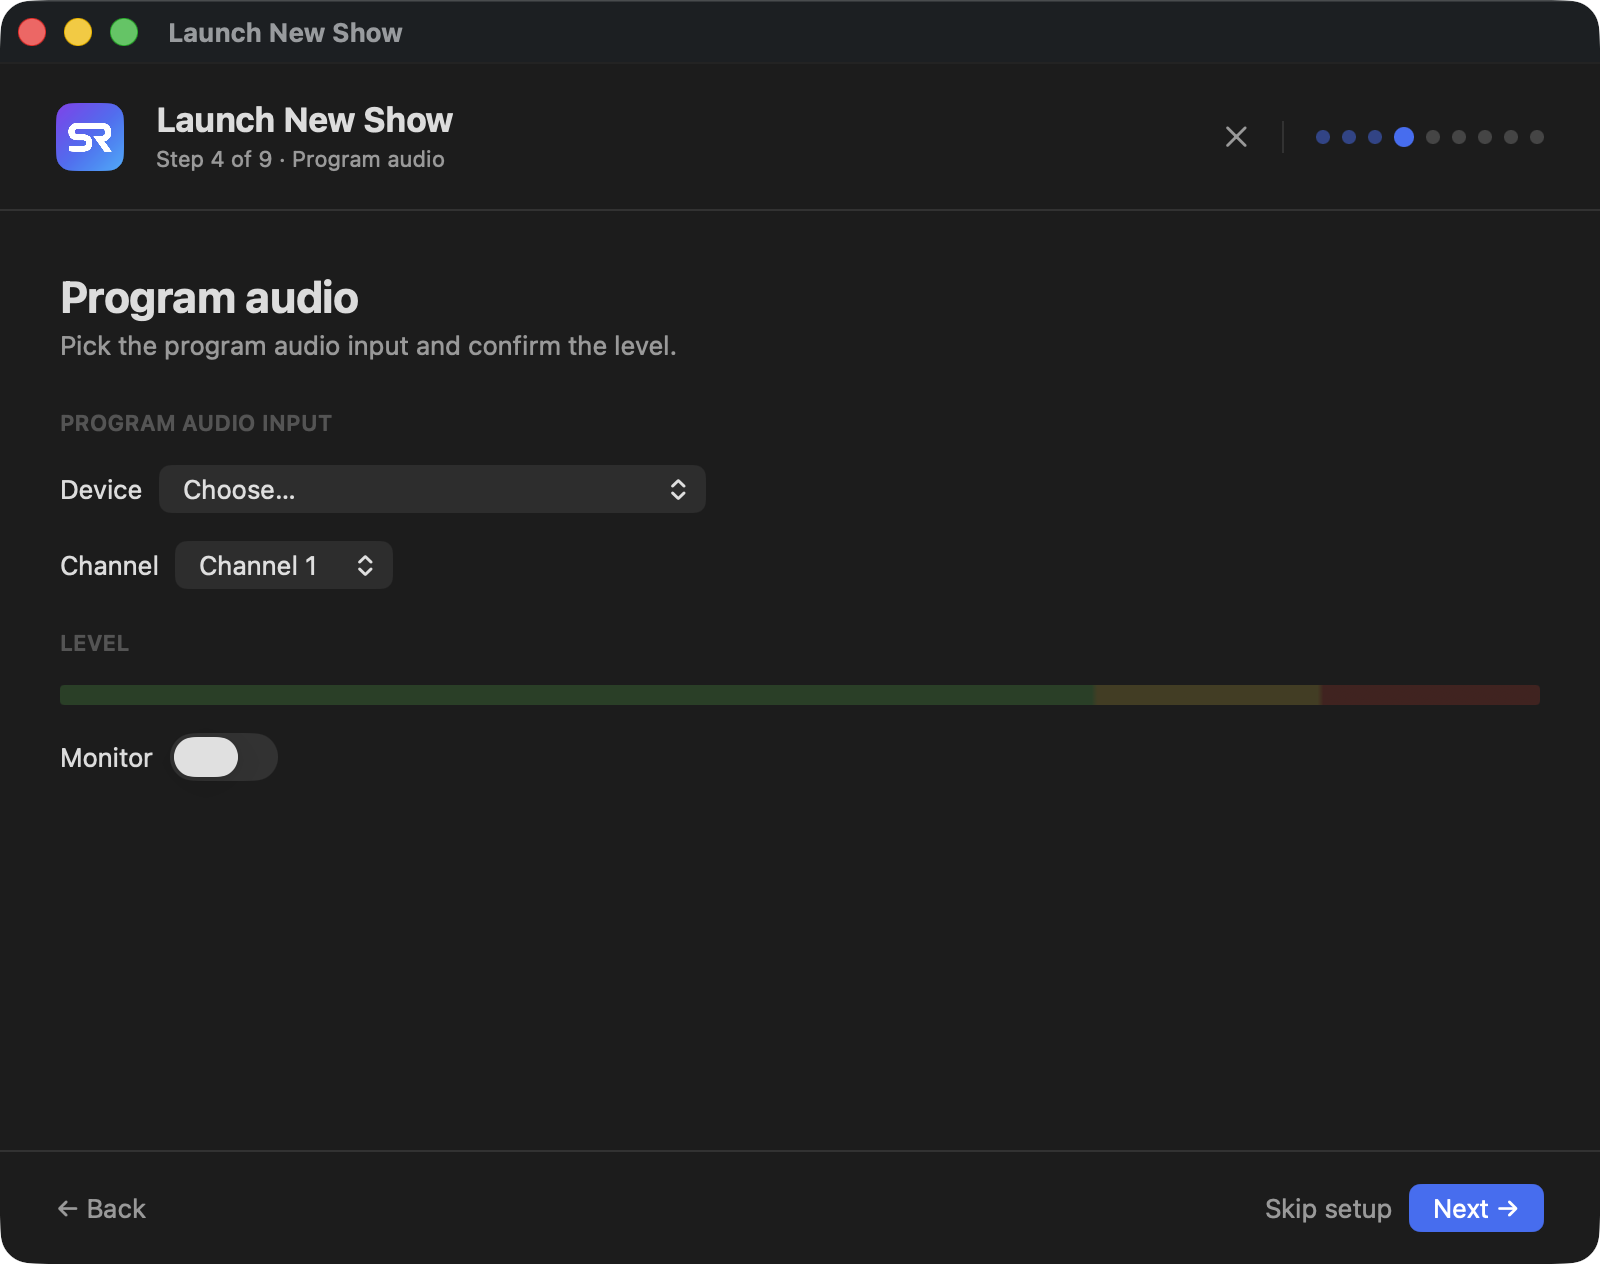
Pick the program audio input device and channel. The meter confirms signal. Monitor listens to the input through an output of your choice while you set it.
Lighting console
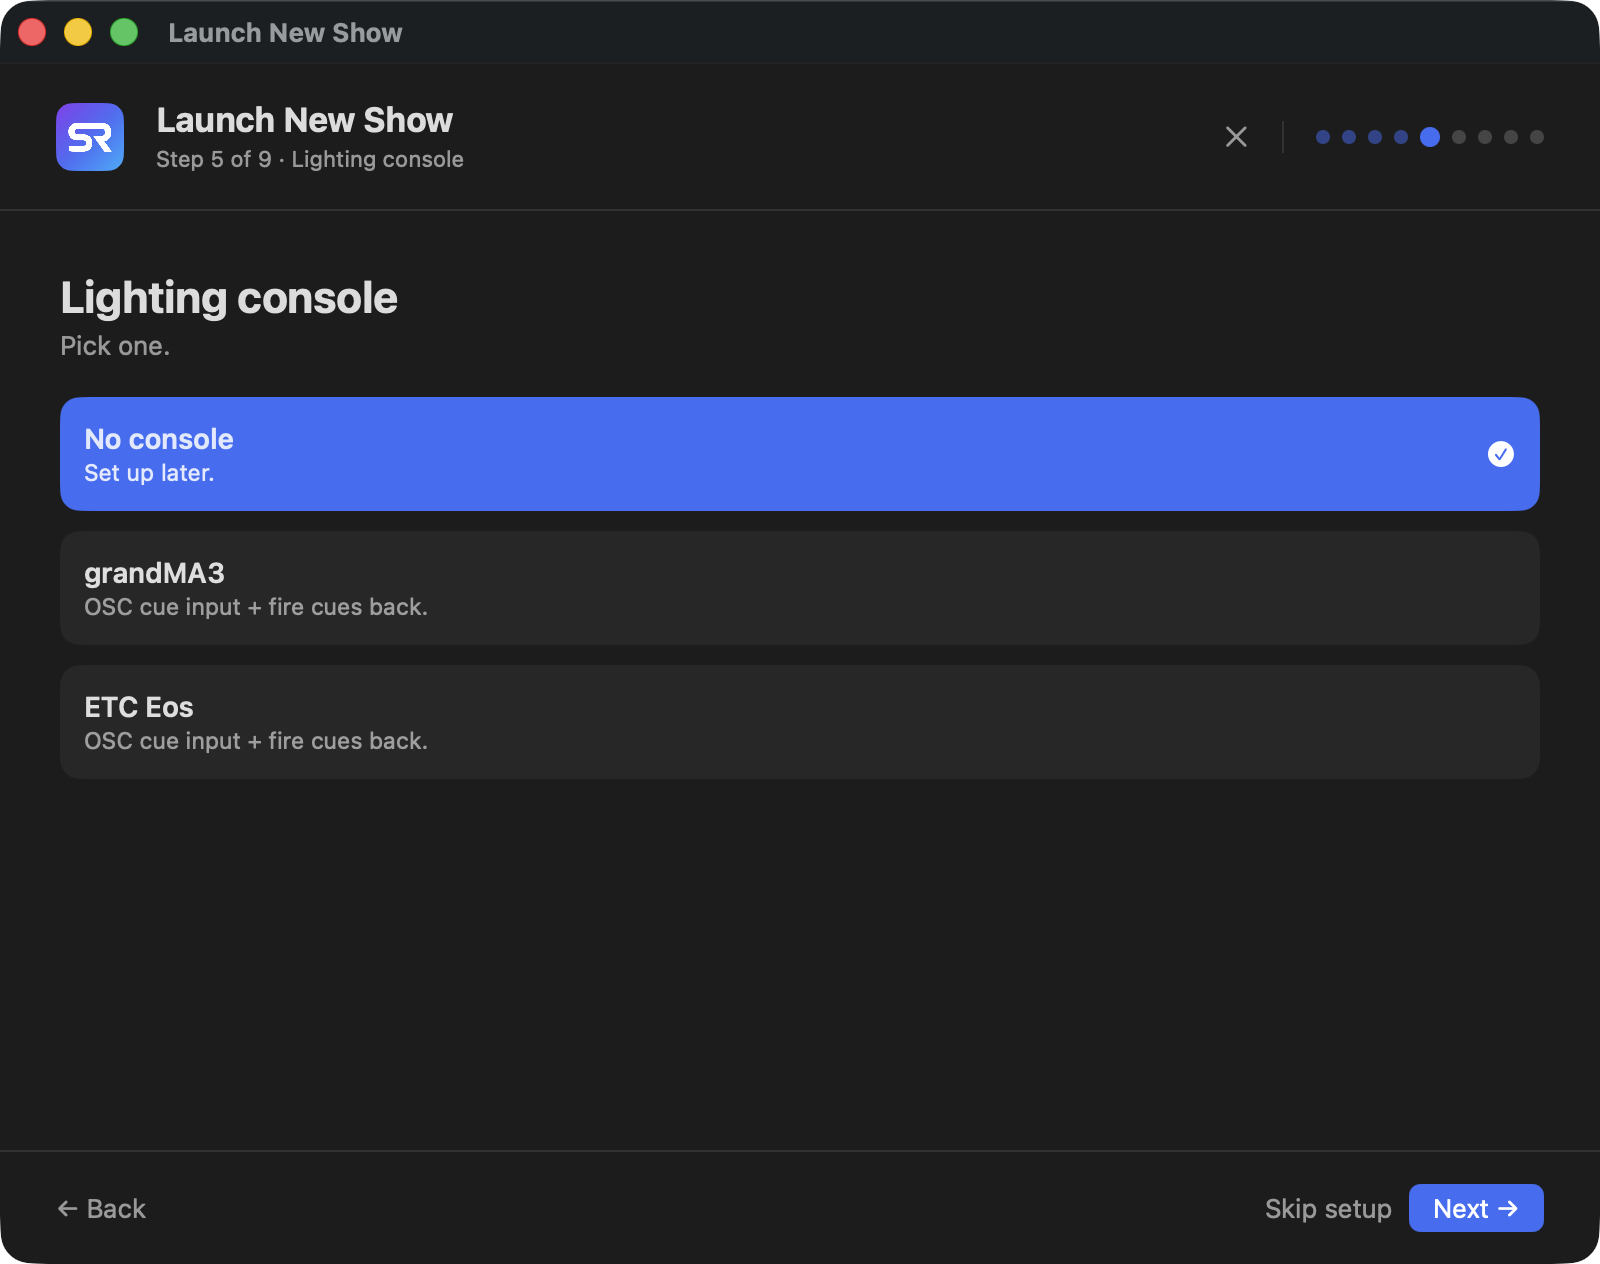
Pick grandMA3 or ETC Eos for OSC cue input and cues fired back, or No console to set it up later in Preferences. Picking a desk adds a setup step that configures the connection and runs a live test both ways: a cue received from the desk, then a cue fired back with the desk's confirmation. Fire-back targets the sequence the wizard captured.
Media server
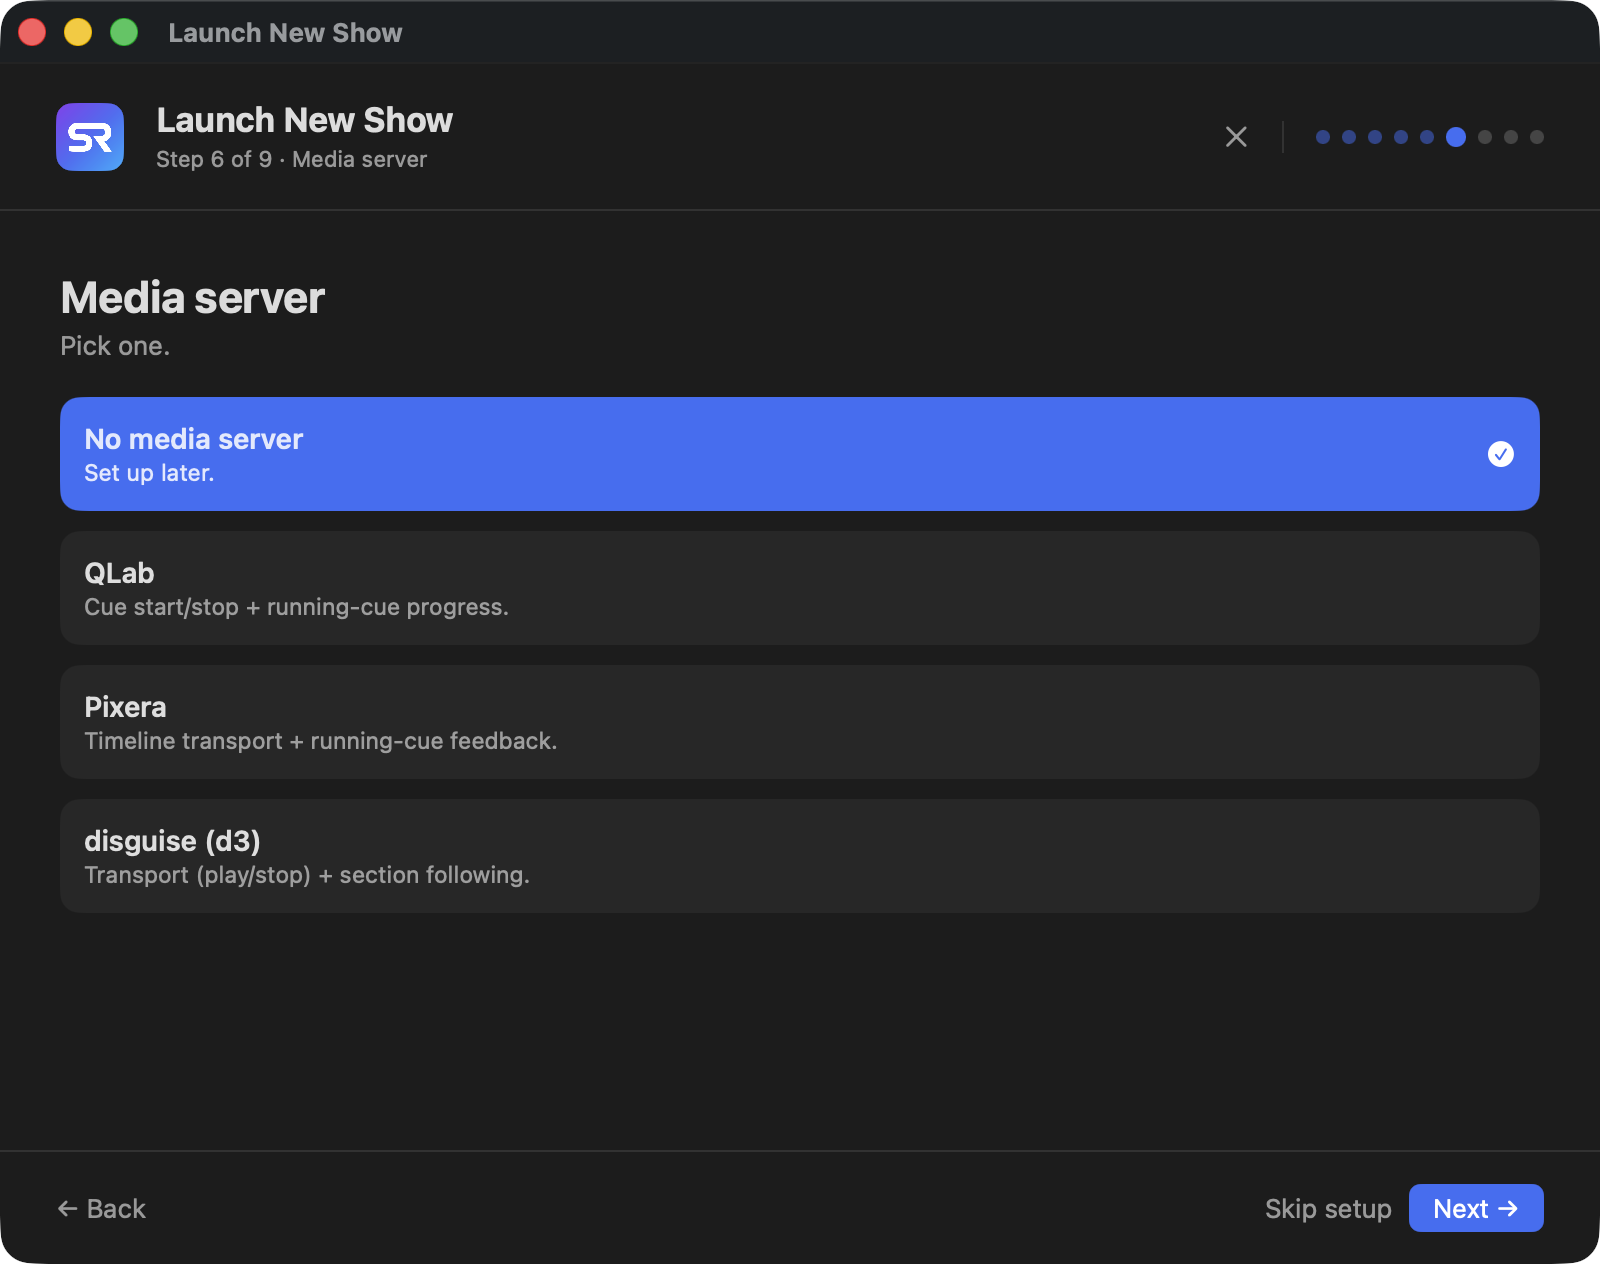
Optional. QLab gives cue start and stop with running-cue progress; Pixera timeline transport with running-cue feedback; disguise (d3) transport and section following. Each adds a setup step that connects and runs a follow test: fired, stopped, fired again. No media server leaves it for Project Settings.
Timecode
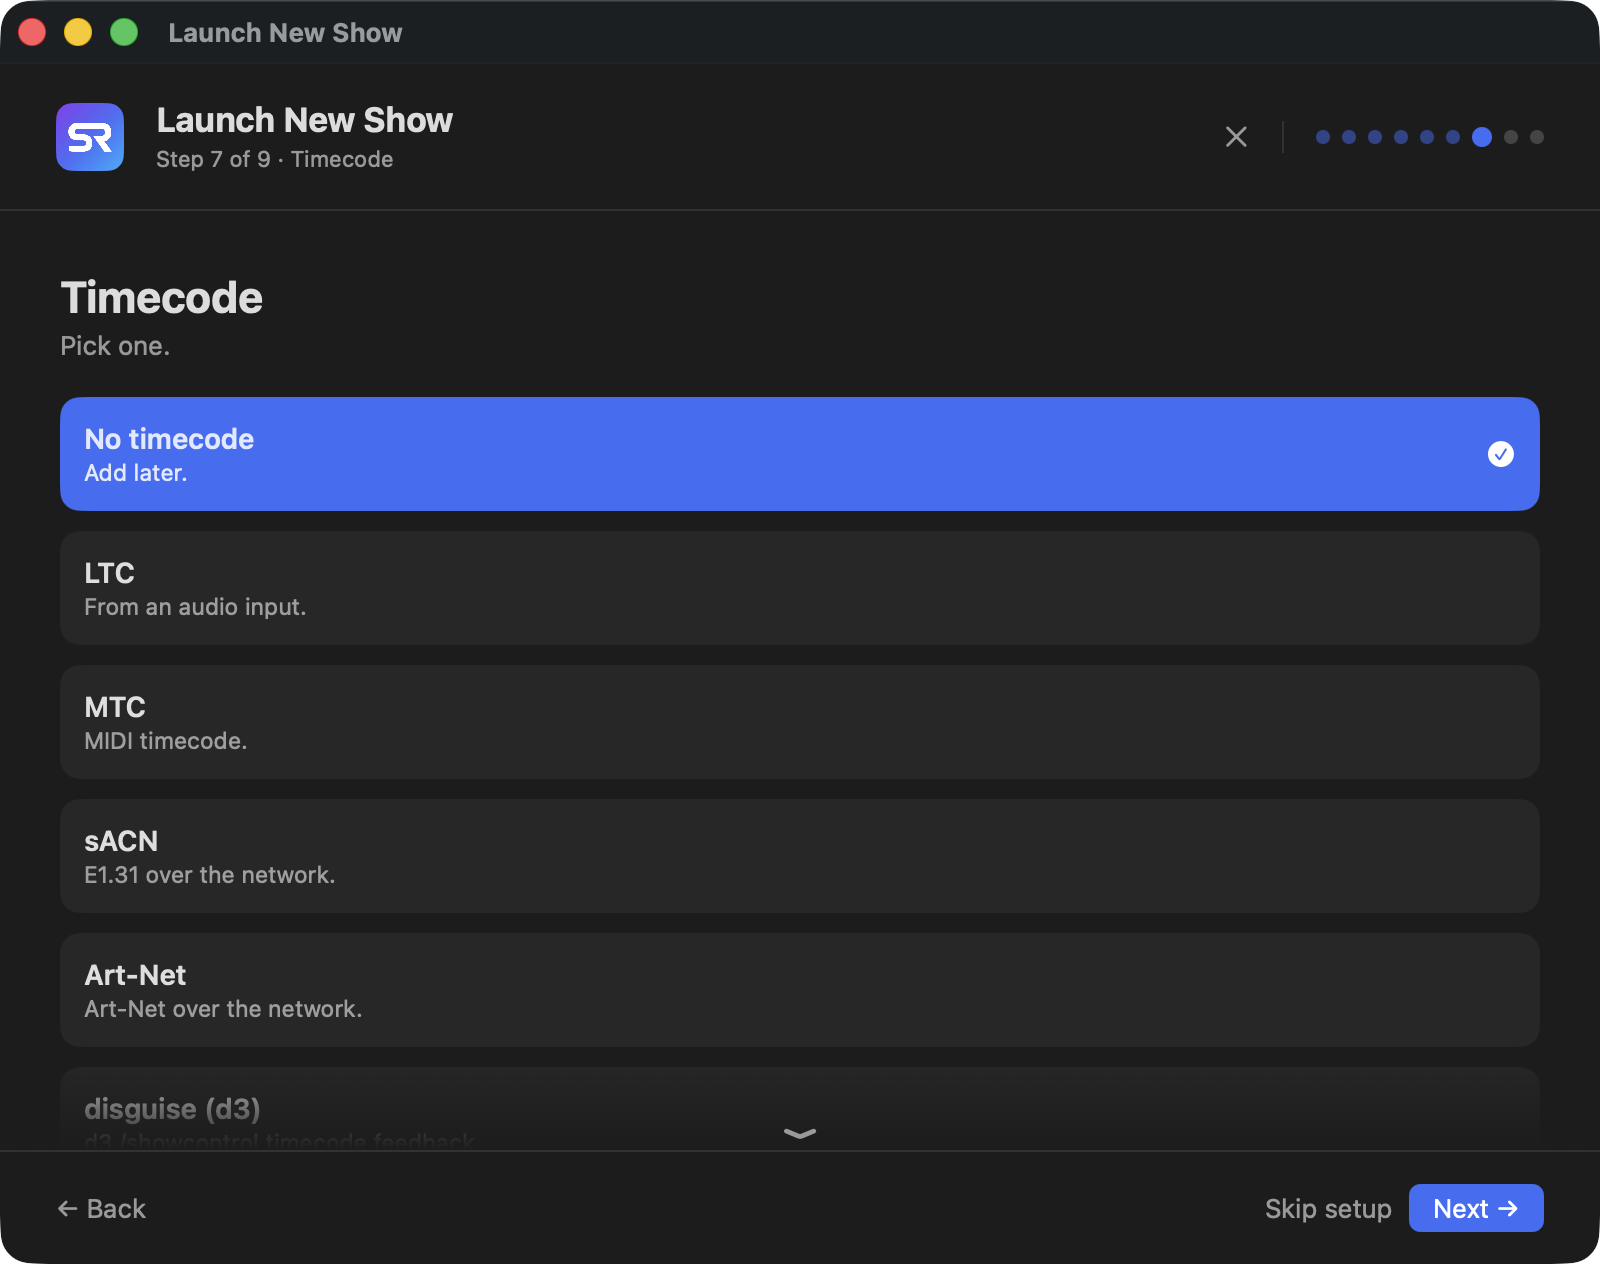
Pick LTC from an audio input and channel, MTC (read from every connected MIDI input), sACN or Art-Net over the network with a network-interface picker, disguise (d3) timecode feedback, or none. Picking a source adds a setup step that waits for it and shows it locked.
Cloud & team
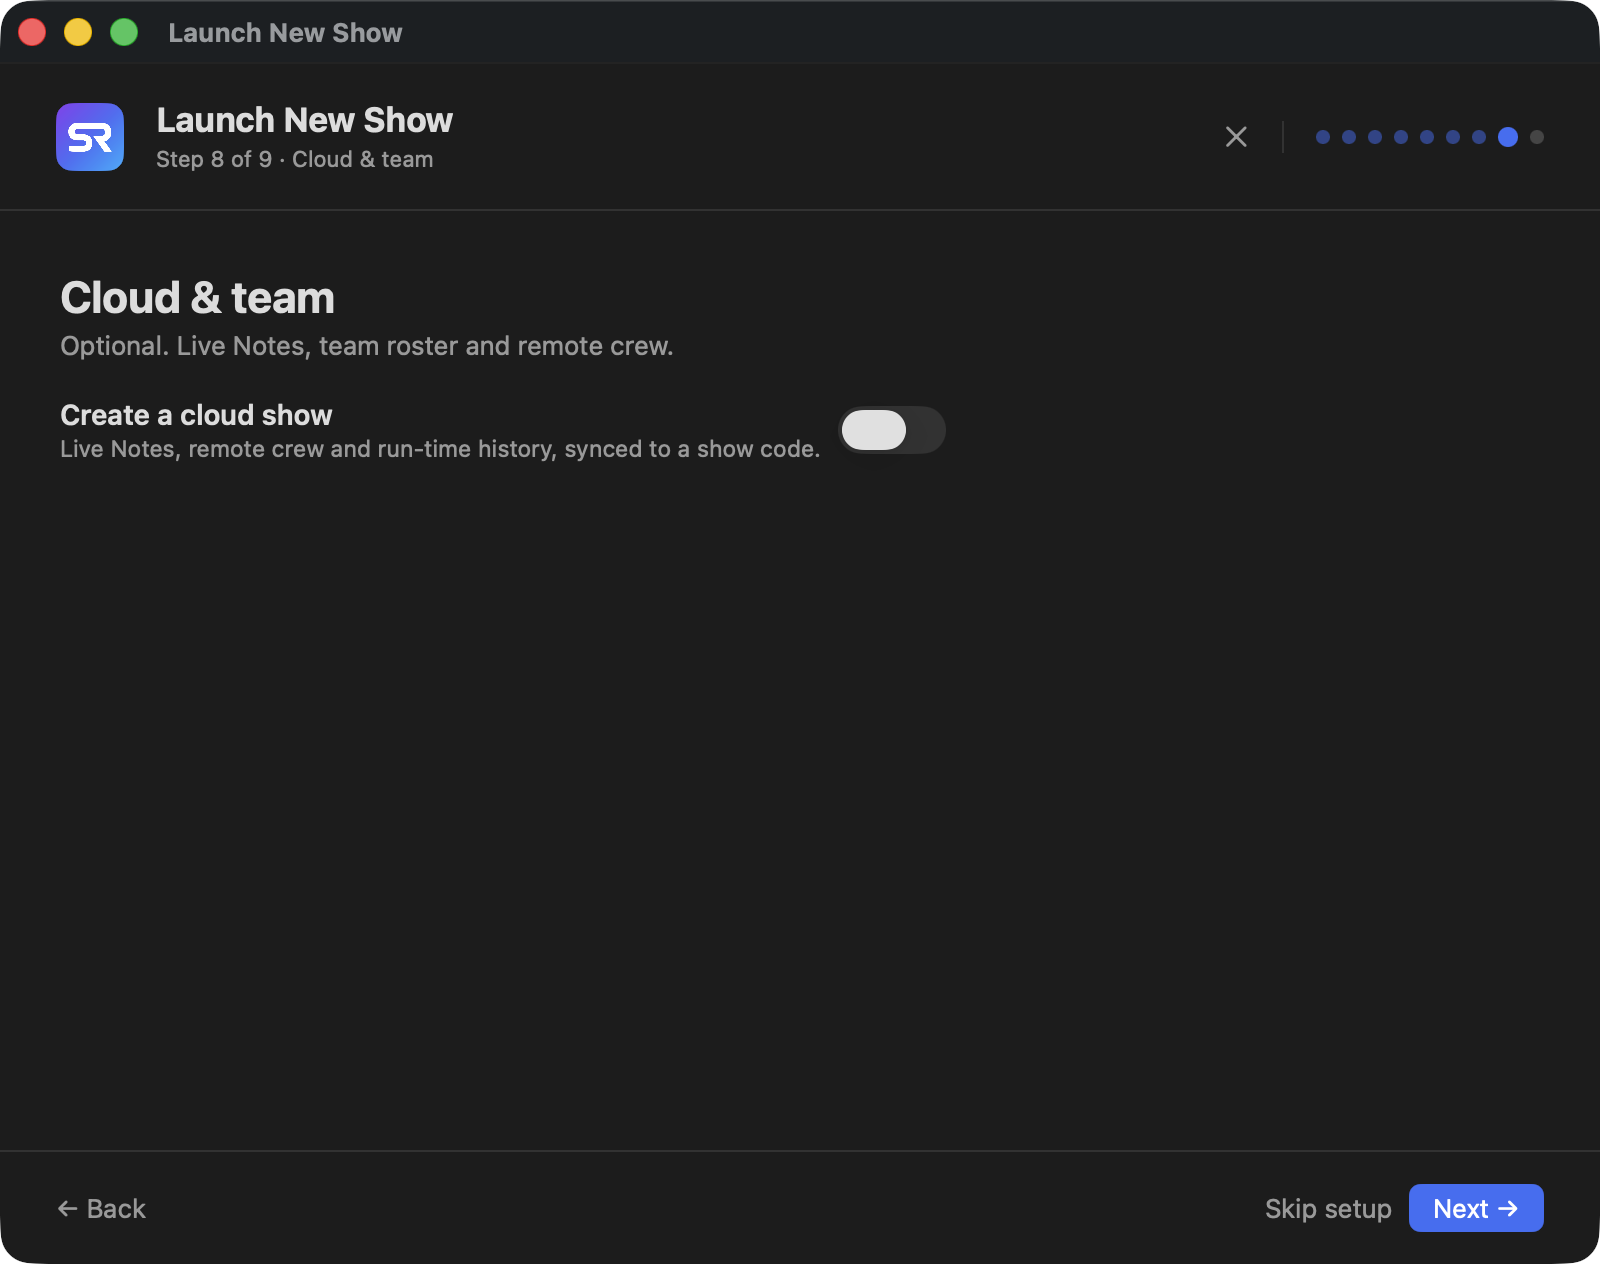
Optional. Create a cloud show turns on Live Notes, remote crew and run-time history, synced to a show code. It needs a signed-in account; the step shows the account and its licence tier. Add team email addresses, comma-separated, and a show image for the report, Stage Display and Live Notes. The cloud show is created and the image uploaded when you press Create Show.
Review & create
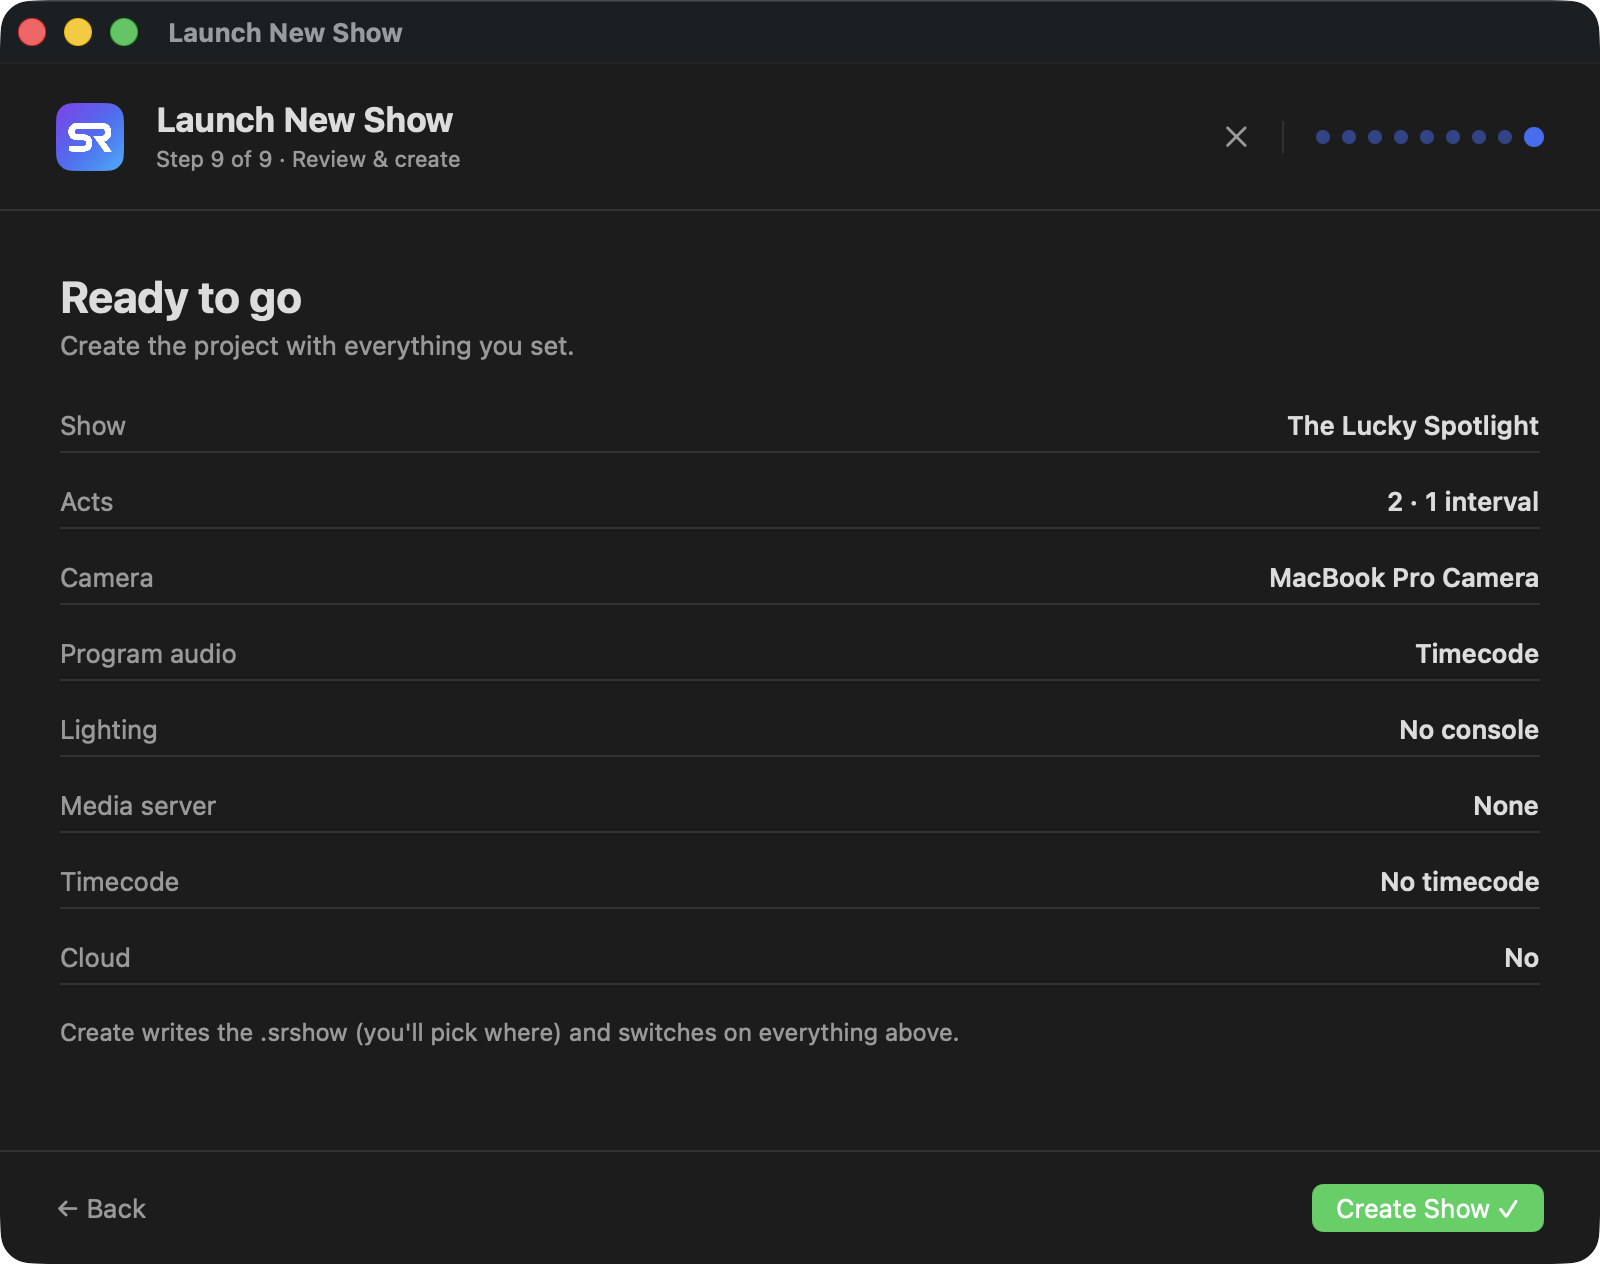
Check the summary and press Create Show. ShowRevue asks where to save the .srshow project
file, writes it, switches on everything you set, and opens the show in Live mode.
After the show is open
- Fire a cue from the console and confirm it appears in the cue list.
- Check the audio meters on the input tracks.
- Start a short recording, stop it, and open it in Playback.
Everything the wizard set lives in Project Settings and Preferences afterwards, so nothing here is a one-time decision.