Setup and Recording
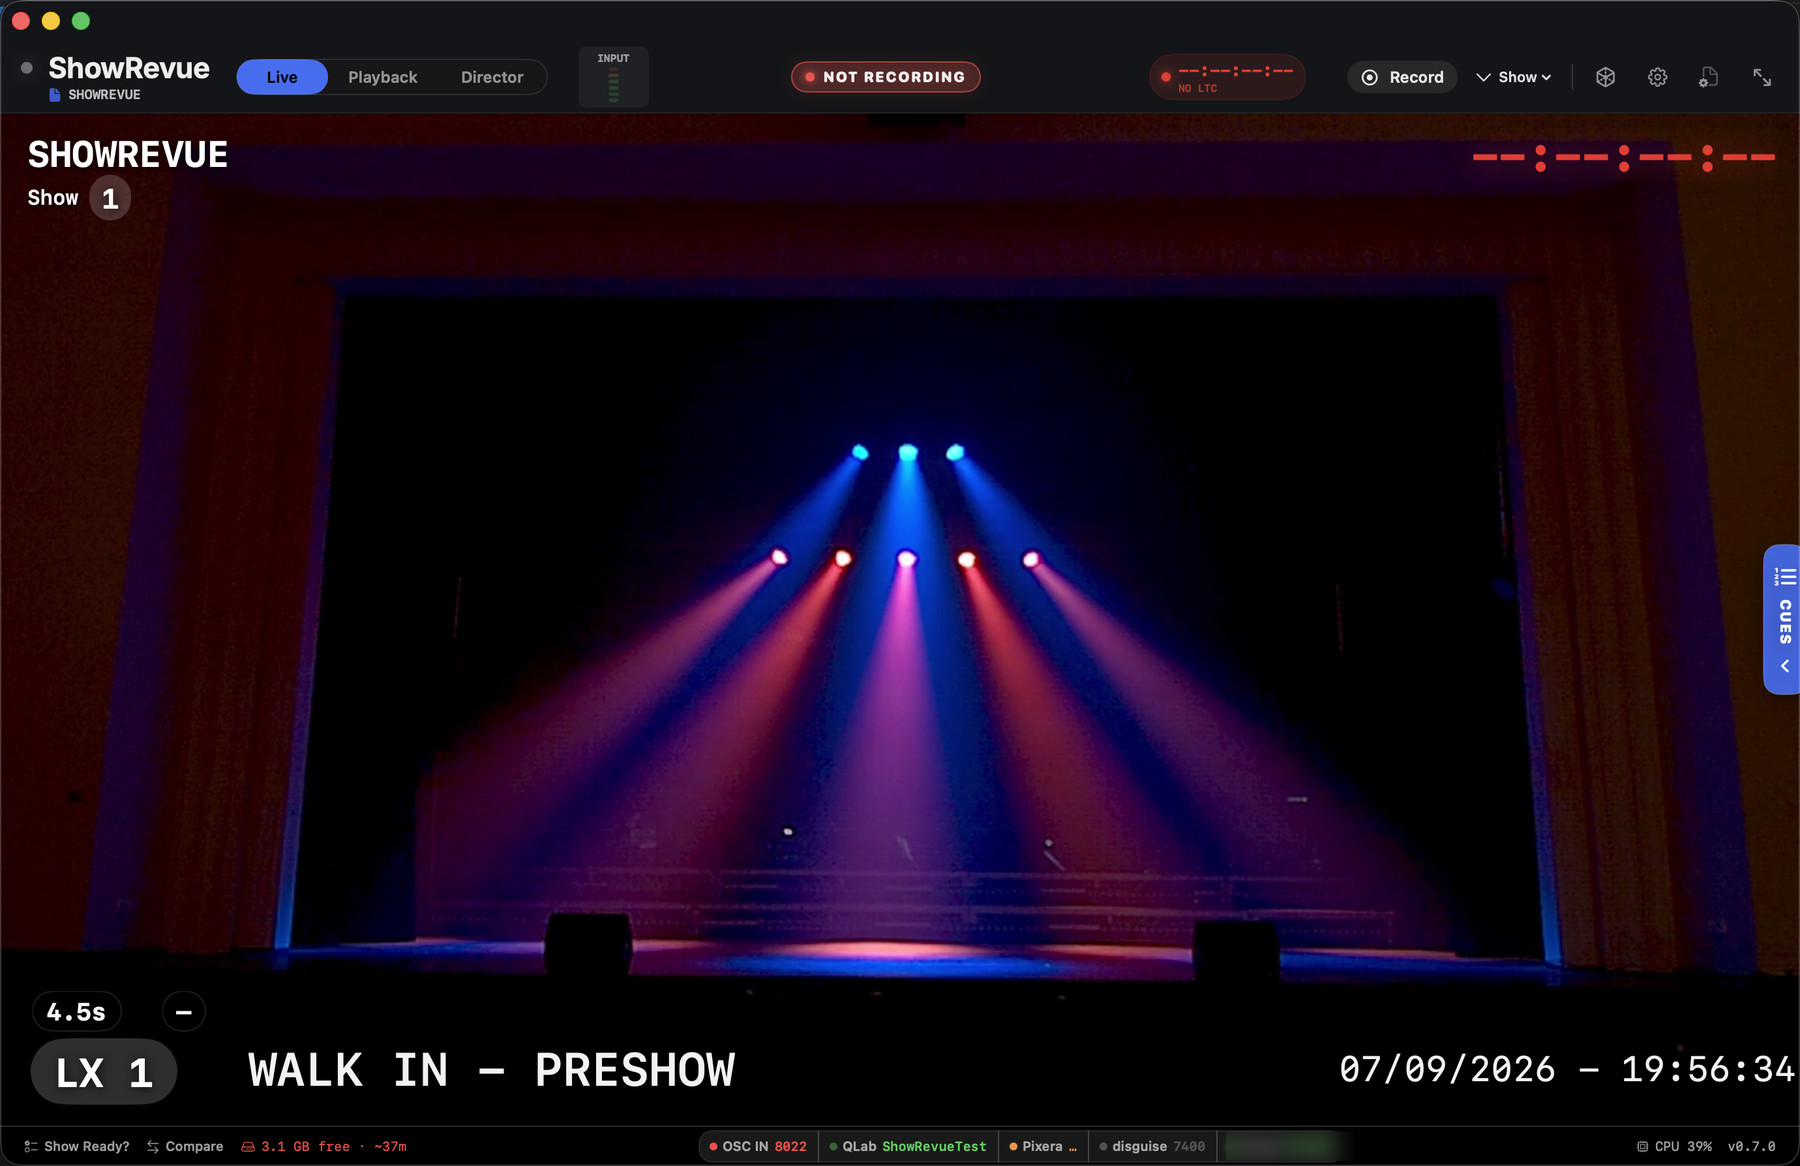
The Live tab: camera feed with the lighting-cue overlay (cue number, label, and session timer).
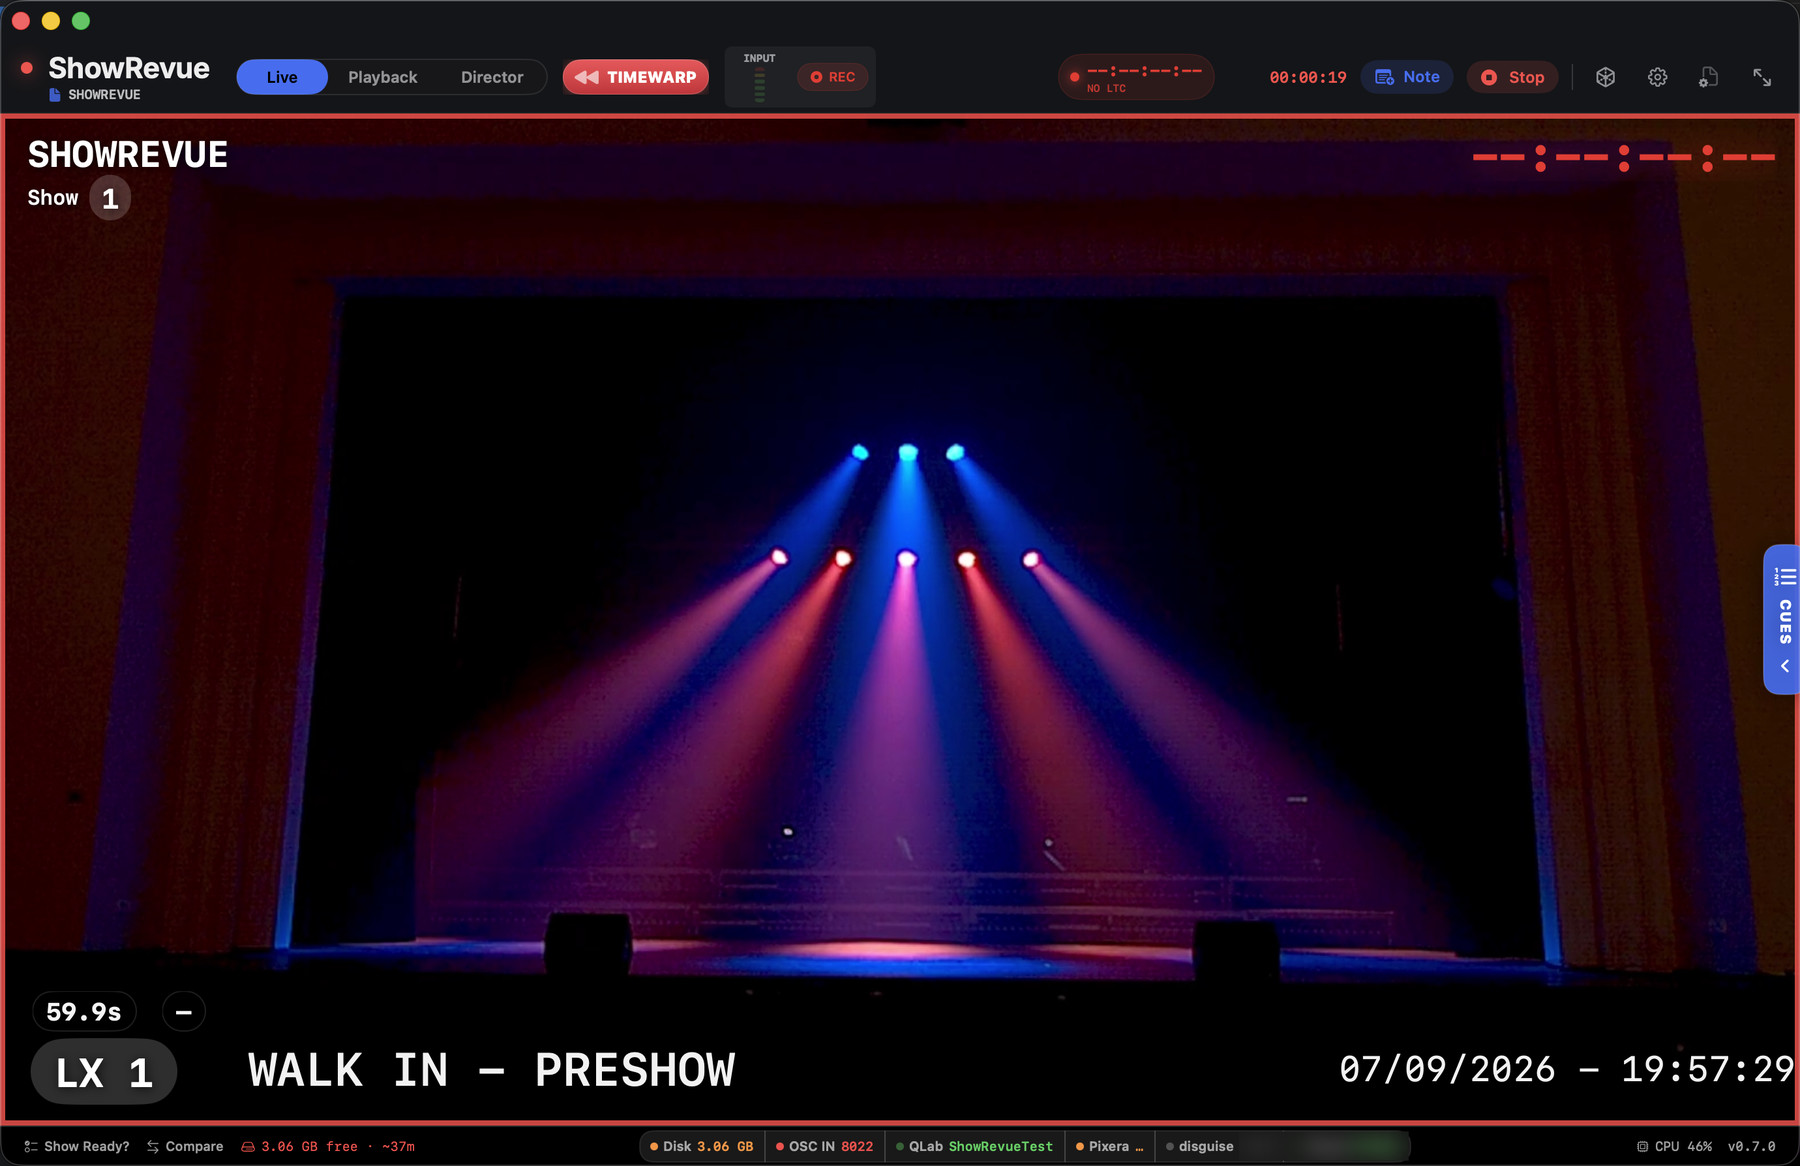
Recording: a red border frames the preview, with the REC timer and Stop control in the toolbar.
First launch
At launch, with no show open, ShowRevue shows a Welcome window: the app version, Check for Updates, links to Documentation and Support, and the main actions, Launch New Show, Open Project, Join a Show, and Account & Licence, plus your recent projects.
- Open ShowRevue.
- Click Launch New Show. This starts the setup wizard, the single entry point for a new show.
- Work through the step rail: Show details → Acts & schedule → Camera → Program audio → Lighting console → Media server → Timecode → Cloud & team → Review. Press Skip at any point to jump straight into Live mode and set the rest up later.
- On the Review step press Create. ShowRevue writes the
.srshowproject file where you choose and switches on everything you set. - The app opens in Live mode with the camera preview in the centre.
The show name appears on the recorded overlay, in Stage Display, and in exported cue lists. You can change it later in Project Settings. See Quick Setup for a walkthrough of each wizard step.
Project and show setup
Click Project Settings in the toolbar to open the show settings sheet. Settings are grouped across four tabs.
Show tab
| Setting | What it does |
|---|---|
| Show Name | Displayed on overlays and Stage Display |
| Venue Name | Displayed on the Stage Display header |
| Show Logo | PNG shown in Stage Display |
Sessions tab
Configure session types, rollover windows, and post-recording actions.
Consoles tab
| Setting | What it does |
|---|---|
| Console Type | GrandMA3 or ETC Eos |
| MA3 Sequence | Which sequence ShowRevue monitors |
| Eos Cue List | Which cue list ShowRevue monitors |
Timing tab
Set the cue numbers that mark show boundaries for Show State tracking and session summary variance. See Show State for details.
These settings travel with the .srshow project file. Network ports stay in Preferences.
Camera setup
- Open Preferences → General.
- Choose the source type: Camera or NDI.
- If you are using a camera, select your capture device.
- If you are using NDI, install the NDI SDK if prompted, then choose the NDI source.
- Set the resolution. 1920×1080 (HD) is recommended.
- The live view shows a 16:9 preview. Black bars are not recorded.
Any USB or Thunderbolt camera recognised by macOS can be selected here. NDI sources are also supported.
Audio setup
Open Preferences → Audio.
Input tracks
Add up to three recording tracks.
| Track | Typical source |
|---|---|
| Track 1 (PGM) | House mix or board feed |
| Track 2 | Stage monitor mix or comms |
| Track 3 | Comms or another aux feed |
The playback waveform is derived from Track 1, so connect your clearest full-mix signal there.
LTC is always captured as a separate channel. Configure its source in Preferences → Timecode, not here.
Output
Use output settings for playback routing, local monitoring, and LTC output.
In the output-bus table:
- Name each bus for operator clarity (for example
FOH L,Comms,Booth). - Set the output device and channel per bus.
- Use ID to identify that route: ShowRevue plays a 2-second tone then speaks the bus name.
- Keep the route meter visible while testing to confirm both audio and routing.
Recording
Starting a recording
- Click the chevron next to Record and choose Tech, Dress, or Show.
- Click Record. Recording starts immediately.
- Optionally use Setup Sheet… before recording to add pre-session notes.
- Use the Notes field in the toolbar during the run to capture notes live. Notes are timestamped when you click Add Note or press N.
- Click Stop when finished. ShowRevue finalises the recording, embeds cue metadata, and generates a waveform.
The end-of-recording report prompt only appears when you Stop from the app. A remote or automatic stop (OSC, DMX, the free-tier cap, or the scheduler) finalises the recording silently; any auto-send or cloud draft you have configured still happens. See Reports.
Free tier demo limit: recordings are capped at 4 minutes each, up to 5 recordings per day.
LAN Live Notes requires Capture or above. Cloud Live Notes and Stage Display require Production.
What the recorded files are
ShowRevue records standard .mov or .mp4 video files, depending on the codec you choose.
- You can share those files on their own.
- They open in normal video players such as QuickTime Player or VLC.
- LTC timecode is always recorded on audio track 4.
.mp4recordings embed cue metadata directly in the video file.- MP4 recordings store cues, notes, and timing inside the video file itself.
.mov(ProRes) recordings keep that data in a small companion file. Keep it beside the video so ShowRevue can load it.
Open the file again in ShowRevue if you want to view the embedded metadata, cue data, notes, and LTC-aware playback tools.
Recording watermark. Recordings made on Free and Capture carry the ShowRevue mark (top-right, at 50% opacity). Production and above remove it.
File naming
ShowRevue auto-names recordings from the show name and session type:
PACA_FROZEN_TechRehearsal_1.mov
PACA_FROZEN_TechRehearsal_1A.mov
PACA_FROZEN-170526-1.mov
- Rehearsal recordings use the session type and a running number.
- If you stop and restart the same rehearsal type within the rollover window, ShowRevue adds a letter suffix such as
1A. - Show recordings use the show name, the recording date, and a running show number.
Storage indicator
The toolbar shows free disk space and the estimated recording time remaining.
If ShowRevue crashes during a recording
It restarts itself. The app relaunches, reopens your show, and starts a new recording automatically. The whole round trip is about seven seconds. A red banner explains what happened, and the interrupted take's video is salvaged into the library.
Two things to know:
- A force-quit during a recording is treated as a crash, so the app comes back and starts recording again. If you want it to stay down, hit the ✕ on the red banner within a few seconds of the relaunch.
- The automatic restart happens once. If the recovery take crashes too, ShowRevue shows the banner and stops there rather than relaunching in a loop.
Hardware requirements
| Item | Requirement |
|---|---|
| Mac | Apple Silicon (M1 or later) recommended. macOS 14 Sonoma or later required. |
| RAM | 8 GB minimum. 16 GB recommended for long sessions with multitrack audio. |
| Storage | H.264 uses about 4–12 GB/hr, H.265 about 2–8 GB/hr, and ProRes LT about 45 GB/hr. ProRes LT needs a fast SSD. Allow 100 GB+ free for a full tech day. |
| Network | Gigabit LAN recommended for Stage Display. Wi-Fi is fine for monitoring, but wired is preferred for production networking. |
| Audio | A Core Audio compatible interface is recommended for multitrack and comms capture. |
| Camera | Any USB or Thunderbolt camera recognised by macOS. NDI sources supported. |